
Document Camera - Image Rotation
The Document Camera was designed to capture an image of physical items relative to the presenter's point of view. When re-purposing the document camera to stream video of the instructor and/or presentation content, the image may appear upside-down/inverted. To correct the orientation of the image, an adjustment can be made within Zoom.
Microsoft Teams
In MS Teams, no image rotation settings are currently available. The use of the Document Camera in portrait mode for MS Teams sessions is not recommended.
Zoom Camera Rotation
- Turn on Document Camera and orient its head/lens as you deem appropriate for your use.
- Launch Zoom application from Start Menu on the classroom PC. This will automatically open the Western login page for Zoom sessions.
- Login using Western login credentials.
- Select "Open Zoom Meetings."
- In the Zoom application open the "Settings" menu in the top right corner.
- Select "Video" (Epson ELPDC21 will be default camera).
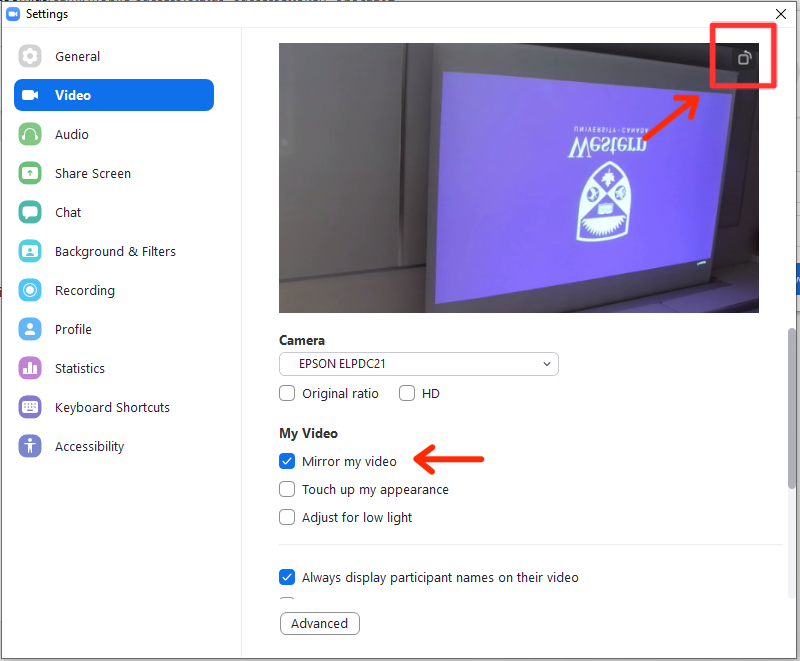
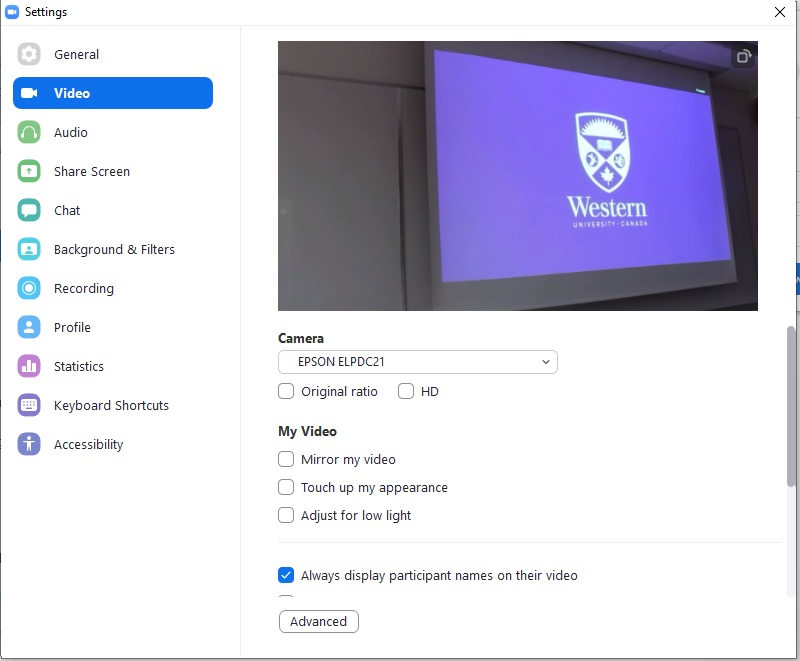
- Rotate Image using "Rotate 90⁰" button in the top right of camera preview. .
- Uncheck "Mirror my video" box.
Before
After
Images from Camera App
Images taken using the Camera App, are automatically saved to the following folder location on the classroom PC:
Username \ Pictures \ Camera Roll
By Default, Images taken using the Camera App are automatically saved in the *.JPG format.
Saved images taken with the Document Camera may appear upside down. The saved image file can be rotated on the classroom PC to correct the image rotation.
- Locate / search for the file using windows explorer
- Right click on the file
- Select "Rotate"
This rotation can be done to any still image file.
To rotate a video file, you will need to use your own 3rd party video-editing software.
Please note: Video editing software is not provided by CTG, and is not available on the classroom PC.
Published on and maintained in Cascade.