Wireless Microphones
A wireless lavalier microphone is installed in most G.U. spaces for voice lift needs.
Each wireless microphone is mapped to a specific location and it will only operate in the room for which it has been configured.
The audio output from this microphone feeds the local speakers, and it is also routed back into the classroom Rack-PC to support audio capture, and/or web conferencing (where applicable).
Lavalier Microphone Placement:
Microphone placement/location is important for effective voice lift performance. Please ensure that a clear line-of-sight to the microphone is maintained without physical obstruction. It is recommended that the microphone capsule is:
- Positioned between 5 ~ 8 inches, below one’s chin;
- Firmly fastened, pointing directly up towards the presenter’s mouth;
Wireless Microphone Systems
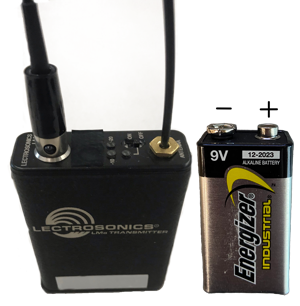
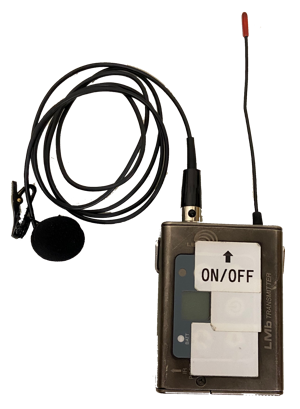
Lectrosonics LMa Microphone
Power up the microphone by using the on/off switch located on the top of the beltpack. It will take a few seconds before the microphone becomes active during which the beltpack’s LED indicators will flash several times.
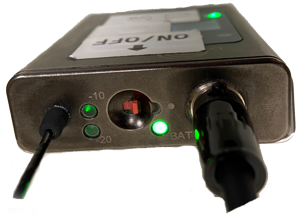
If the battery indicator is amber, red, or not illuminated after turning the microphone on, replace the battery.
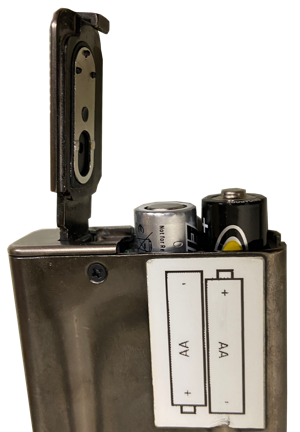
To replace the battery:
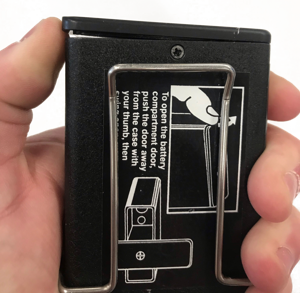
- Invert, and observe the bottom of the beltpack case: this cover is the battery door
- At the narrow edge firmly press the up on tensioned battery door to push it slightly up and away from the case whilst rotating it outward – to the side
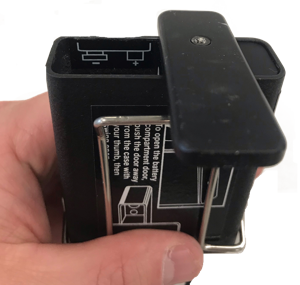
- The battery compartment should now be exposed. The single, 9-volt battery should easily slide out from this compartment.
- On the inside of the battery compartment locate the diagram that shows the correct battery polarity.
- Insert the new, 9-volt battery to match the polarity as indicated.
- To close the battery door, rotate and re-seat it by sliding the battery door toward the case.
Note: Do not force the battery door closed; it is designed to resist full, and complete closure to indicate if a battery has not been inserted correctly
Lectrosonics LMb Microphone
Power up the microphone by using the on/off switch located on the top of the beltpack. It will take a few seconds before the microphone becomes active during which the beltpack’s LED indicators will flash several times.
If the battery indicator is amber, red, or not illuminated after turning the microphone on replace the battery.
To replace the battery:
- Locate the small, battery door on the bottom of the beltpack
- Firmly press in on this door with your thumb whilst sliding the battery door outward, and away from the case.
- The door should then release and open downward to expose the battery compartment.
- Existing batteries should easily slide out from this compartment.
- On the inside of the battery door and/or inside the battery compartment – locate the diagram showing the correct battery polarity.
- Insert the battery matching the polarity as indicated.
- Carefully close the battery door and re-seat it by sliding it inward toward the case.
Note: Do not force the battery door closed; it is designed to resist full, and complete closure to indicate if a battery has not been inserted correctly
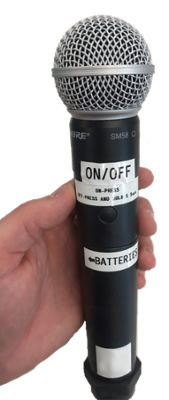
Shure Hand-held Microphone
Power up the Microphone by pressing and Holding the power button for 2 seconds
Power down the Microphone by pressing and Holding the power button for 5 seconds.
To replace the battery:
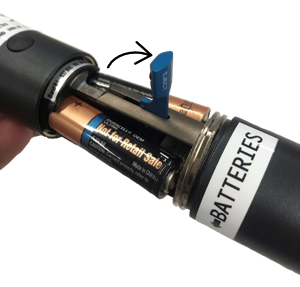
- Locate the battery compartment in the lower half on the Microphone.
- Unscrew the bottom half of the Microphone to release the battery compartment cover.
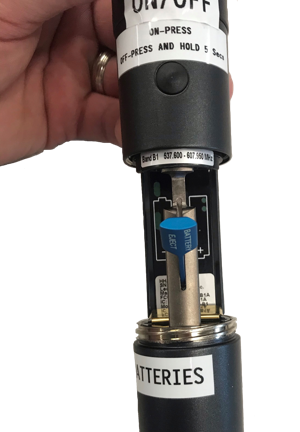
- Slide down the battery compartment cover to reveal the batteries.
- Gently pull up on the blue battery eject tab to release the batteries from the Microphone.
- Remove the old batteries and close the battery eject tab
- Insert two new 'AA' batteries to match the polarity as indicated.
- Slide up and reattach the battery compartment cover over the batteries
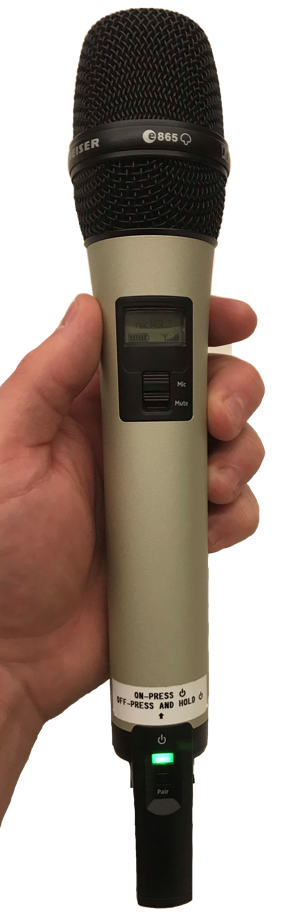
Sennheiser Hand-held Microphone
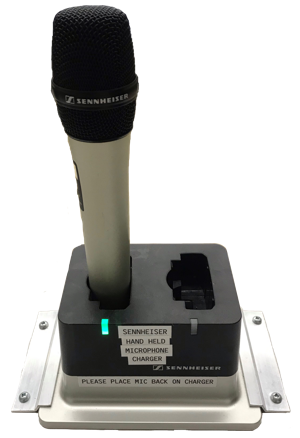
Power up the Microphone by pressing and Holding the power button for 5 seconds
Note: Power button will light up green when powered on
Power down the Microphone by pressing and Holding the power button for 5 seconds.
When Finished, return the Microphone to the charging station. Returning the microphone to the charging station will also power down the microphone.
Note: LED light on the changing station will be Red when changing and Green if the Microphone is fully charged.