Search Website
AV Bridge - As a Service
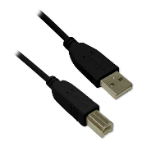
The A/V Bridge provides an option to enable your laptop to host a virtual conferencing session that will also leverage the a/v system's local camera(s) and microphone(s). Presenters must provide their own USB A->B cable to make the physical connection between their laptop and the a/v system.
How it works
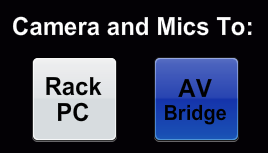
By default, the audio and video signals from the a/v system's camera(s) and microphone(s), are routed to the classroom Rack PC. If you prefer to host a virtual conferencing session from your laptop instead of the Rack PC, you will need to select this on the a/v touch-screen control and connect your laptop to the AV Console with a USB A ->B cable.
On the A/V System’s Touch Screen:
- Tap the "Camera" button
- Locate the "Camera and Mics To:" option
- Tap "Laptop"
Note: Switching between Rack PC and Laptop will interrupt the a/v signal between the local camera(s) and mic(s) and any related applications on the selected host. For stability reasons, the USB cable used should be less than 6ft in length.
Laptop Host Requirements
For best overall performance it is recommended that the laptop is energized from an electrical outlet, rather than running on battery power.
- User-supplied laptop; powered up and fully booted into a Windows, or Mac environment.
- Virtual conferencing software client is installed, and is operational on the laptop.
- User-supplied USB A ->B cable (USB v2, or v3)