

Search Website
Crestron – Touch Screen with Image Preview
Presenter Controls Dashboard
The Crestron a/v control interface in G.U. classrooms can be identified by a touch-screen that features a purple background.
Below is an example of a Crestron touch panel that includes an image preview option. The large field in the center of the touch panel is a preview window that shows the user-selected source video (Rack PC or HDMI input)
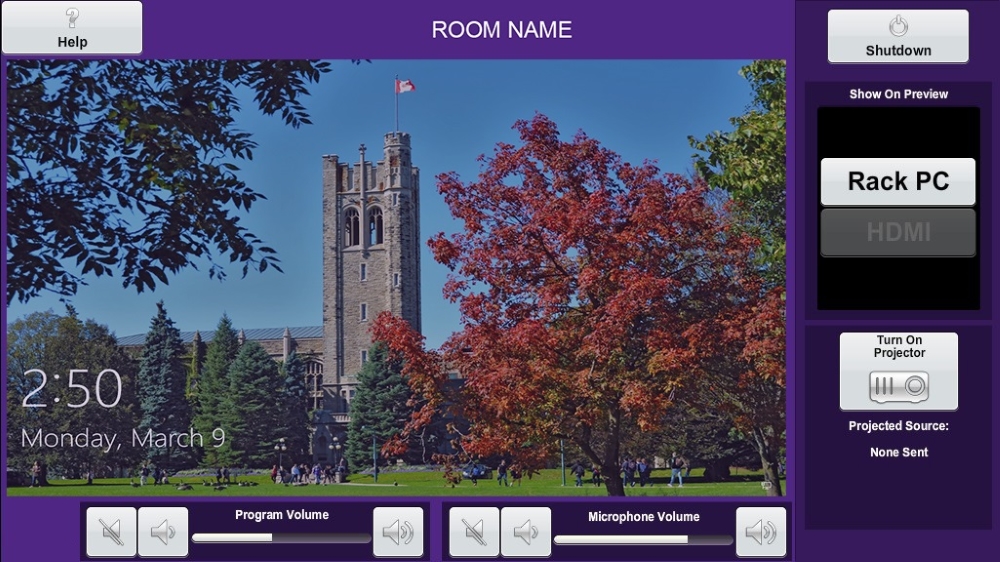
Tapping on the preview window once will toggle this to full-screen view. Tapping once on the full-screen window will return to a normal view.
Note: The touch-screen does not provide touch-controls to the classroom Rack PC. You must use the provided mouse and Keyboard to interace with the classroom Rack PC.
Pressing the “Help” icon on the touch-screen provides self-serve information to assist the end-user in their operation of the a/v system.
Input Selection
Send to Monitor/Input Selection
The user must physically turn on the desired equipment in the a/v rack, and/or connect their device to an a/v input jack on the PCD.
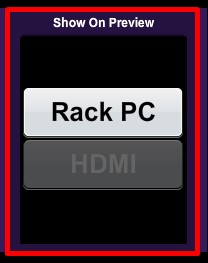
On the touch-screen, press the icon for the video source that you wish to display.
The selected source video should appear within the preview window, on the touch panel.
Note: Source text on the touch-screen icon will appear in gray when no video signal is detected. Pressing a source icon alone will not turn on that particular device. You will first need to independently power up each source device you want to use before it can be displayed.
Projector Controls
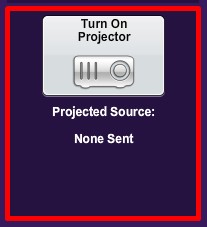
When the projector is on, its image can be “Muted” or “Frozen” using the corresponding icons on the touch-screen
Digital Audio Control
Separate volume control icons allow independent volume control for program and Microphone(s)
Separate volume control icons allow the end-user to adjust level, and mute audio independently for:
- Program Sources (Rack-PC, Laptop, end-user devices);
- Microphone Sources
Levels are adjusted by pressing the vertical slider icons, or the up / down arrow icons.
Program and Mic channels can be muted / unmuted with the corresponding icon located below each volume slider
The “Reset” icon will quickly snap the audio level back to its default setting

A/V System Shutdown
Please remember to shutdown the AV System at the end of the session or event.
To shut down or Turn off the A/V system, press the "A/V System Shutdown" icon at the top right corner of the touch screen. This shutdown page will provide the option to turn off the projectors, re-initialize the audio system, or both.
Note: The shutdown page has a 90-second timeout. This means if no icons are pressed (I.E. no action is taken) after 90 seconds, the system will automatically power down the projector(s) and re-initialize the audio system